Friday 31 January 2014

Lighting Details

The Starfighter has what is known as a ventral fin and the back half of this fin is fiberglass. This is the TACAN / IFF antenna.


To simulate this I have put some fiberglass cloth on the part in the correct location and then painted it with a translucent water based paint to simulate the unpainted look of the real thing.  


After waiting about 90 days for a special little countersink tool I was finally able to attach the lenses to the fuse with the little countersink bolts.


Here is a view of the light with my wife holding a flashlight inside the fuse for the effect. Later  I will be adding the LED to each of the lens.


The wing tip on the model is much thicker than the real wing for lift purposes and for this reason the lights which are 1/5 scale to the full size will not look correct but they would look even worse if I made the fit the model wing the way the full size on fits onto the wing. Again it may be a waste of time but I will try to make it look decent for static purposes.

The Starfighter was also flown without the tip tanks. When this was done there was a light on the tip of each wing  as per all aircraft red for the port side and green for the starboard. I will never fly this plane without the tip tanks but for static I have decided to cap the wing tips and put on the appropriate light. You can see in this picture the actual full size lights.


I have made a small wooden plug for the lights and cast the mold out of latex plastic. Now I will pour acrylic plastic into the mold after I have died the liquid acrylic red and green.

Friday 24 January 2014

Minor Details .... Who Knew???


These little details are the cable cutters that are mounted on the forward main gear doors. Steve Pajot from the Canadian Starfighter museum (http://www.canadianstarfightermuseum.ca/) in Winnipeg gave me some help for these little details. He also pointed out that the perimeter of the doors is painted as they are not aluminum so this is to prevent corrosion. Cool little details that were not evident in anything that I had seen before.


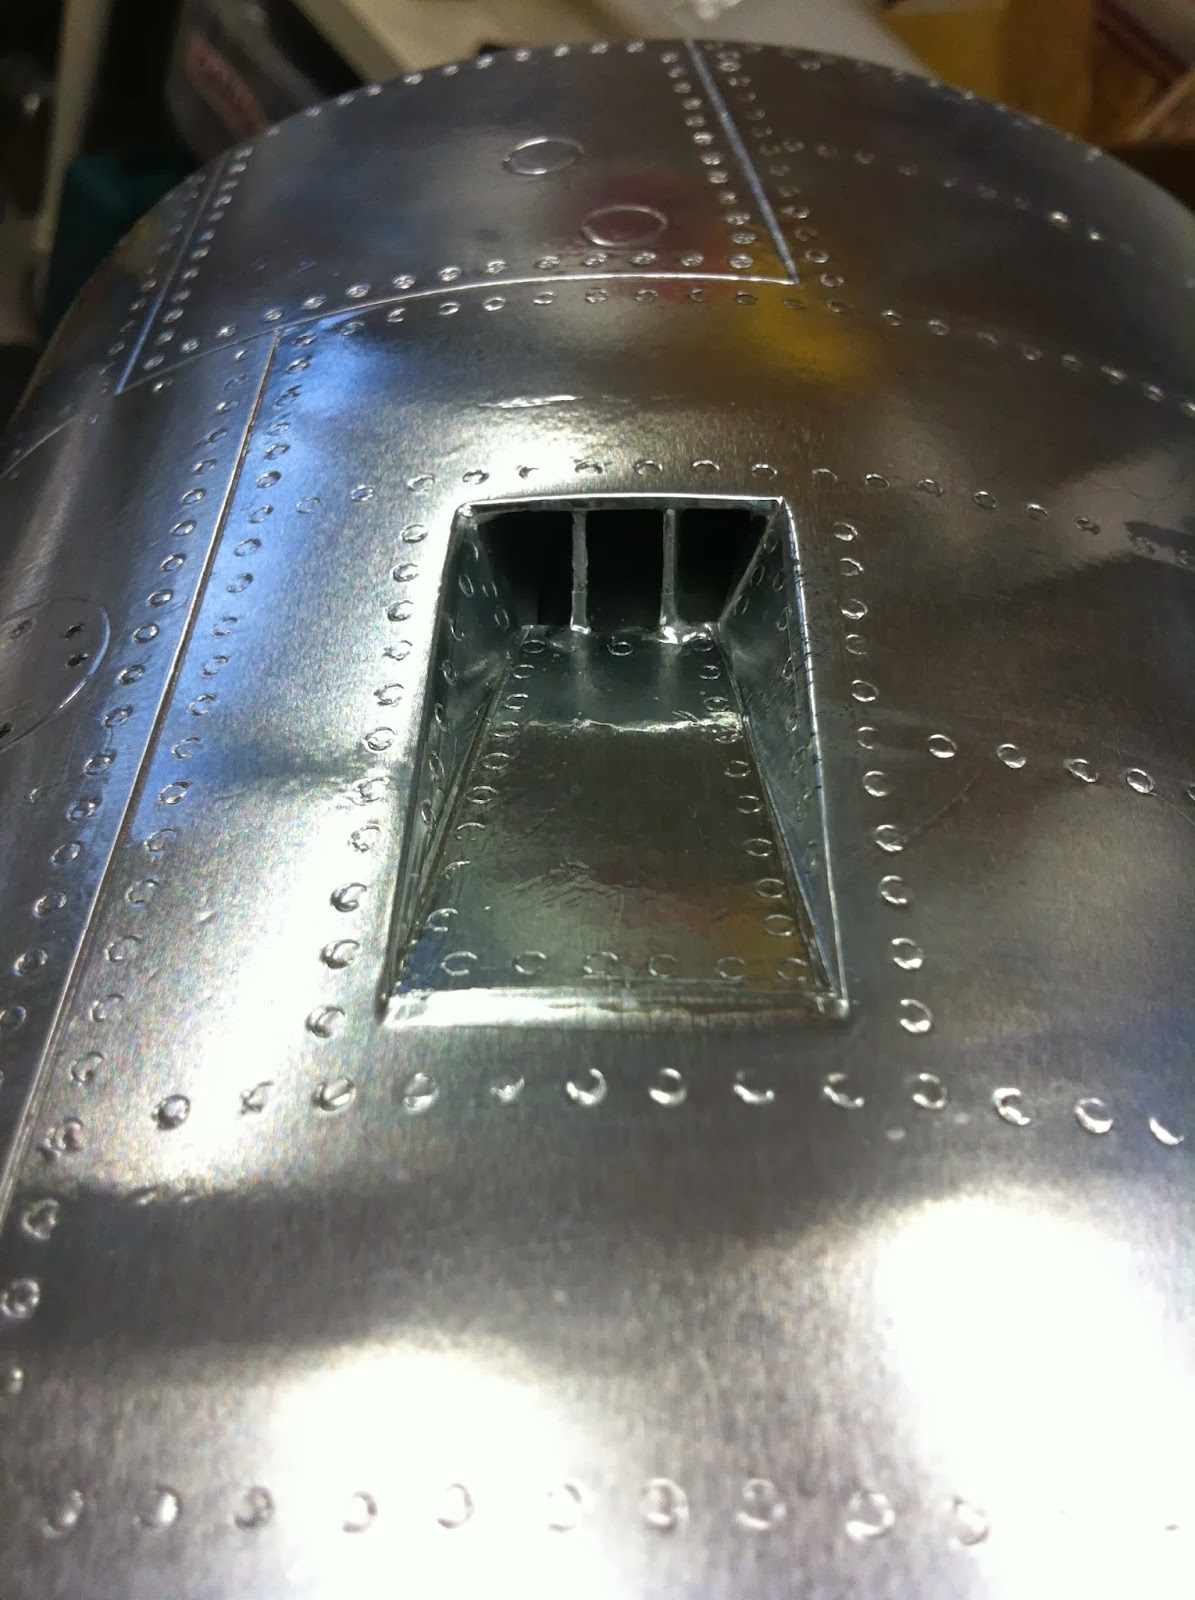
There are two of these ducts that are on the bottom of the fuse behind the nose gear area to extract heat from the electronics bay.


Thursday 16 January 2014

Details, Details .... It Has To Be Done To Look Real


Applying the flight metal for the center section of the fuse is complete and now the detail work will need to be done. You can see that there are some grey painted areas on the fuse and vertical fin but alas the colour grey that I used which looked correct by the label is too dark and blue in colour so I will repaint them.


There are many fasteners for access hatches and to remove the aluminum skin for access to parts of the planes internals. I need to turn what looks like a rivet to a fastener by putting an impression with my little tool on the head. 


Since the plane I am modeling would be new and only recently delivered to the air force it does not have a lot of weathering or grime. Also the fasteners are not too corroded or worn. I have tried mixing a water based paint to simulate nickel plated fasteners. They have a slight gold tint to them with the slot being more worn and having a bit of corrosion or rusting but not too much. I am still experimenting but think I may have an acceptable colour.


I just use a small paint brush and wait until the paint thickens (dries up) so it will stick to the head of the simulated fastener.

As this process will take time I will not put any more about this on the blog but instead will show the installation of the chute deployment system and the work that I will be starting on the forward section of the fuse instead. If you have any comments please feel free to send them to me.

Thursday 9 January 2014

Canadian F-104 Starfighter #703


Here's a great link to the Canadian Starfighter Museum located at the St. Andrew's Airport in Winnipeg, Manitoba. They are currently restoring #703 which I will also be designating my model. 

Tuesday 7 January 2014

More And More Flight Metal


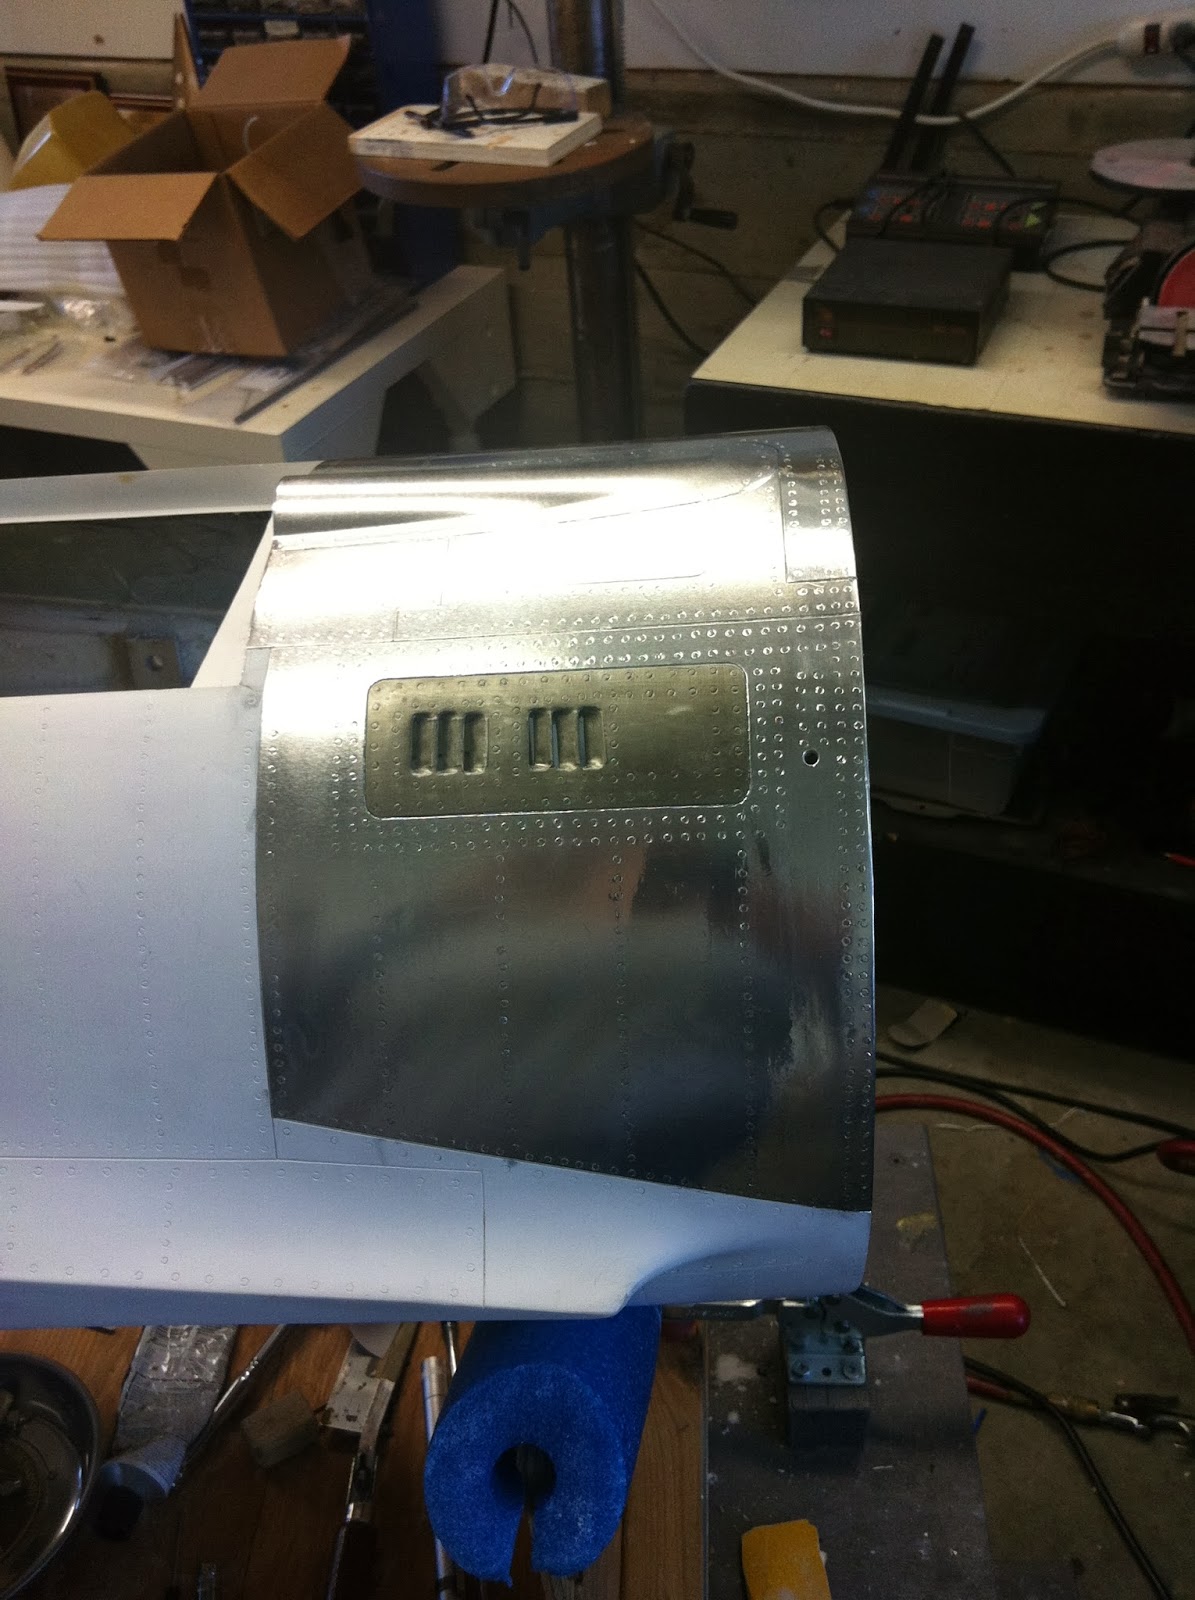
Not much to report just endless hours of flight metal and rivets but starting to look like a metal fuse.


 Just a picture of the contrast between the titanium and aluminum panels.


The underside of the fuse at the main gear wheel bays


The underside of the fuse with the main gear wheel bay doors open.


I thought everyone would be interested in another century series jet the F-105 Thud. Joe Grice is in the stage of building this plane and as he is a master builder it will be a treat to see it evolve. It is 1/6th scale and the F104 1.5th scale. You can follow his build by following this link to his blog http://www.ultimate-jets.net/blogs/joe-grices-blog